How to Use an Espresso Machine: A No-Stress, Step-by-Step Guide for Beginners
Congratulations! You’ve got a shiny new espresso machine. You’re excited, but maybe also staring at all those buttons and ports thinking, “Where do I even start?”
Don’t worry. Every home barista started right where you are now. This guide will walk you through the entire process, from turning on the machine to pulling a beautiful shot and steaming silky milk.
Follow these steps, and you’ll be pulling shots worthy of a café in no time.
Before You Start: What You’ll Need
- Espresso Machine: Obviously.
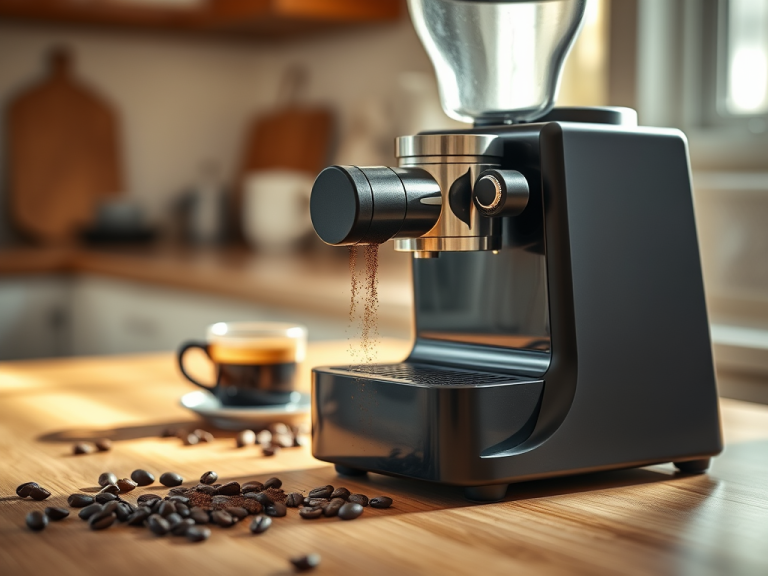
- Coffee Grinder: This is non-negotiable. You must use freshly ground beans.
- Fresh Coffee Beans: Use beans roasted within the last 2-4 weeks.
- Scale: A small scale that measures in 0.1-gram increments is your best friend for consistency.
- Tamper: Usually comes with your machine.
- Portafilter: The handle with the basket that holds the coffee.
- Jug for Milk: If you’re making milk-based drinks.
- Glass or Cup: To pull the shot into.
The Step-by-Step Process
Step 1: Warm Up Your Machine
Turn on your espresso machine and let it heat up fully. This can take anywhere from 3 seconds (on a thermoblock machine like a Breville Bambino) to 15-20 minutes (on a machine with a larger boiler). Never try to pull a shot from a cold machine.
Pro Tip: Place your portafilter into the group head and your cup on the warming tray (if you have one) during heat-up. This ensures everything is hot and won’t shock your espresso when it pulls.
Step 2: Grind, Dose, and Weigh
- Grind your coffee beans. You’re aiming for a fine powder that clumps slightly in your fingers.
- Dose your portafilter. A standard double shot uses 18-20 grams of coffee. Place your portafilter on the scale, tare it to zero, and add coffee until you hit your target weight.
Step 3: Distribute and Tamp
- Distribute: Use your finger or a tool to gently spread the grounds evenly in the basket. Tap the portafilter on the counter to settle them. This prevents channeling (where water finds weak spots).
- Tamp: Place the portafilter on a flat, stable surface. Hold your tamper like a doorknob and press straight down with firm, even pressure (about 30 lbs). The goal is a perfectly level, compacted puck of coffee. Give the tamper a slight polish (a small twist) at the end to smooth the top.
Step 4: Pull the Shot
- Lock In: Wipe any loose grounds from the rim of the portafilter. firmly lock it into the group head of your machine.
- Start Timer: Place your pre-heated cup on the scale and tare it to zero. Start your timer and immediately begin pulling the shot.
- Watch and Listen: You should see a rich, honey-like stream of espresso after 5-8 seconds. It will start dark and thick (like molasses) and gradually lighten to a golden blonde. This is called the “blonding” point.
- Stop: Stop the shot when you’ve reached your target yield. A good starting recipe is a 1:2 ratio. For example:
- 18 grams of coffee in → 36 grams of liquid espresso out in 25-30 seconds.
Step 5: Steam Your Milk (For Lattes/Cappuccinos)
- Purge: Before you start, briefly turn on the steam wand to blast out any condensed water.
- Fill: Fill your pitcher with cold milk to just below the spout. Whole milk froths best due to its fat content.
- Position: Submerge the tip of the wand just below the surface of the milk and turn the steam on full.
- Aerate: Lower the pitcher slightly until you hear a gentle chirping or tearing sound—this is you adding air (stretching the milk). Do this for just 3-5 seconds to get slight microfoam.
- Vortex: Submerge the wand deeper to stop the chirping sound. Position the wand to create a swirling vortex in the milk. This will incorporate the foam and heat the milk evenly. Heat until the pitcher is almost too hot to touch (around 150-155°F or 65-68°C).
- Purge and Wipe: Turn off the steam, purge the wand again, and immediately wipe it clean with a damp cloth.
Step 6: Pour and Clean Up
- Swirl: Give your steamed milk pitcher a firm tap on the counter and a swirl to incorporate the foam and break up any large bubbles.
- Pour: Pour the milk directly into your espresso. For a latte, pour quickly from a higher height to mix. For art, bring the spout close to the surface and pour with intention.
- Clean Immediately: Knock out the used coffee puck from your portafilter. Rinse the portafilter and basket. A clean machine is a happy machine.
Troubleshooting Your First Shots
- Shot is too SOUR and fast (<20 sec): Your grind is too coarse. Make it finer.
- Shot is too BITTER and slow (>35 sec): Your grind is too fine. Make it coarser.
- No crema: Your beans are likely stale, or your grind is much too coarse.
- Water sprays everywhere: Your tamp was likely uneven, causing channeling.
The Beginner’s Espresso Checklist
| Step | Goal |
|---|---|
| Warm Up | Machine is fully heated |
| Dose | 18g of coffee in the portafilter |
| Tamp | Level, even puck with firm pressure |
| Yield | 36g of liquid espresso out |
| Time | 25-30 seconds from start to finish |
| Milk Steam | Silky, no large bubbles, ~150°F |
Final Thought: Practice Makes Perfect
Your first shot might not be perfect, and that’s okay! Espresso is a journey. The key is to change only one variable at a time (usually the grind size) and take notes.
Focus on the process, and the delicious results will follow. Welcome to the wonderful world of home espresso.
The single most important factor in great espresso is your grinder. If you’re struggling with consistency, [your grinder might be the culprit. Here’s our breakdown of the best grinders for beginners]The Best Espresso Grinders for Beginners in 2025 (No BS Guide)